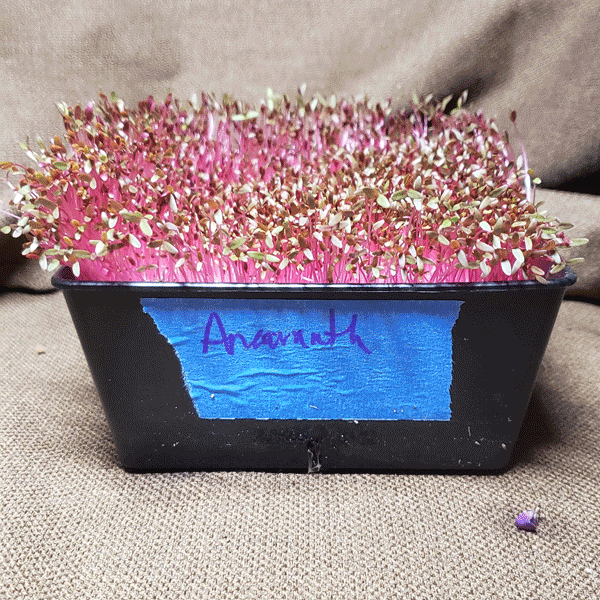
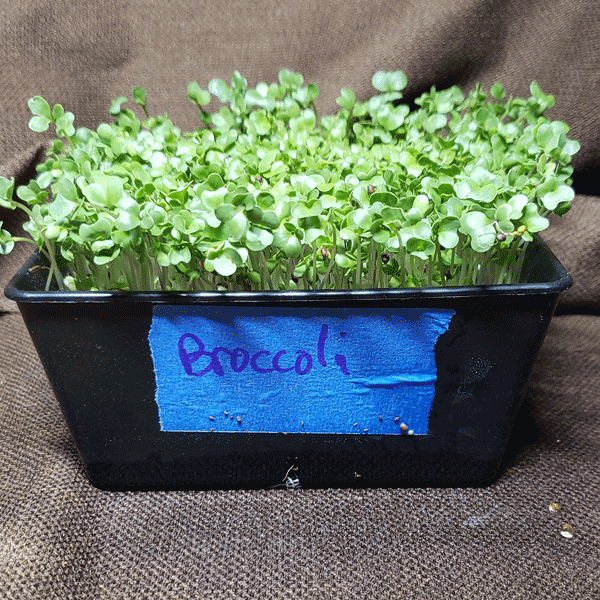
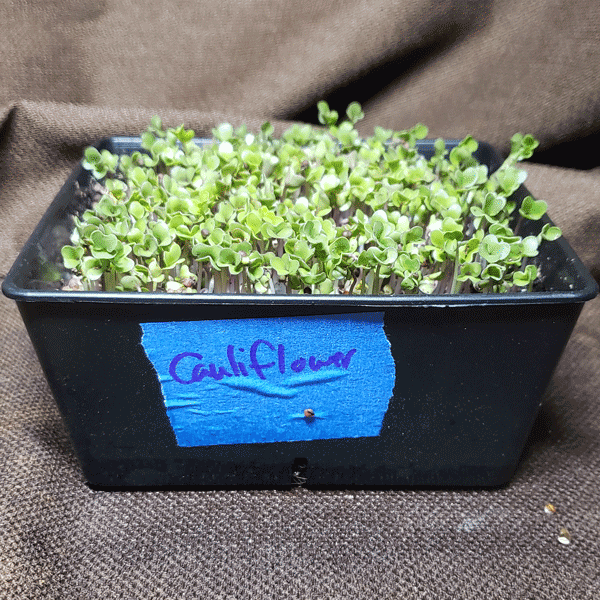
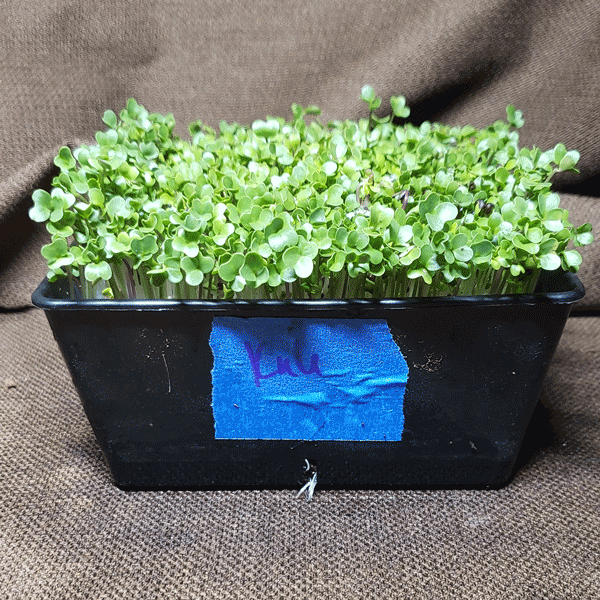
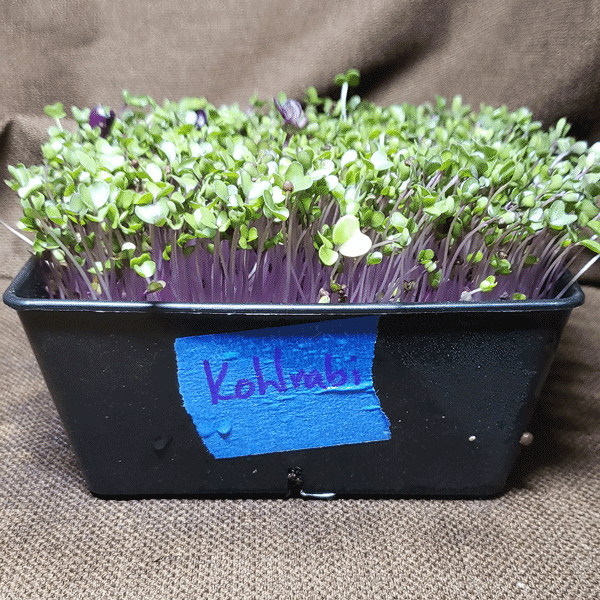
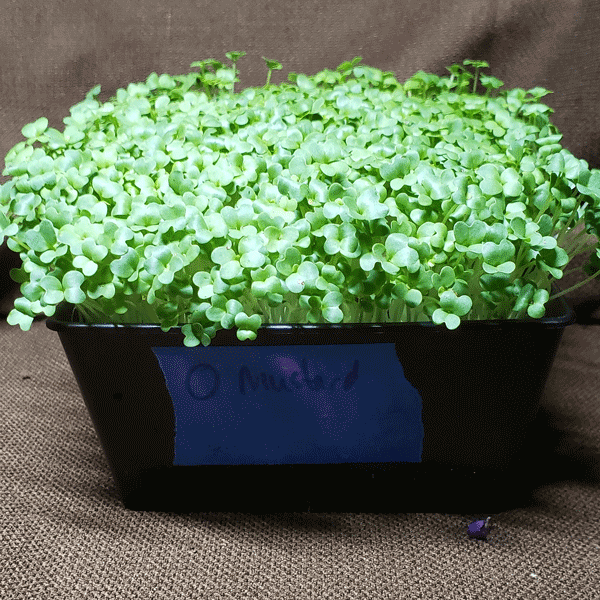
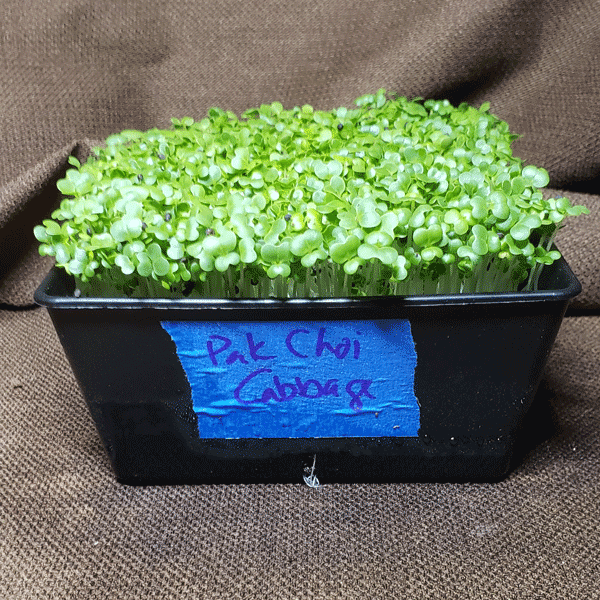
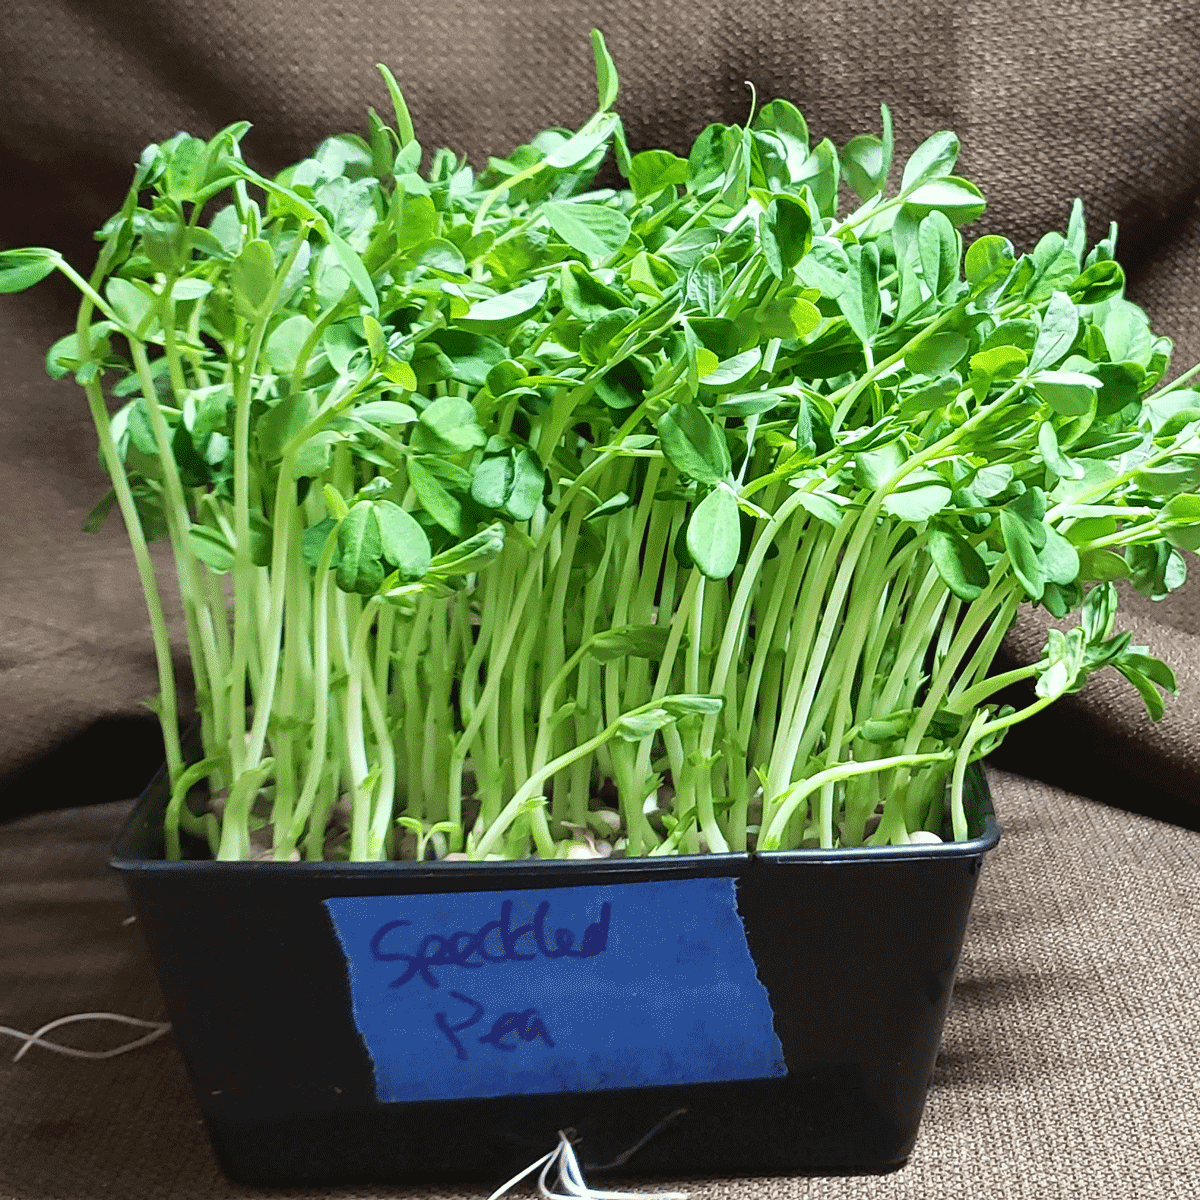
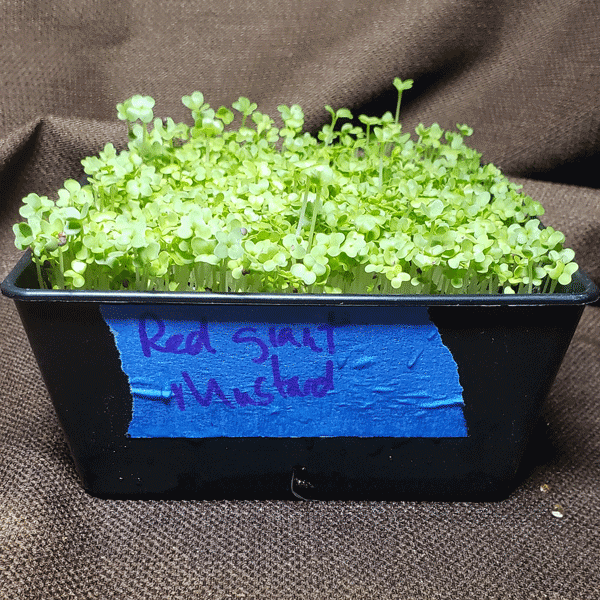
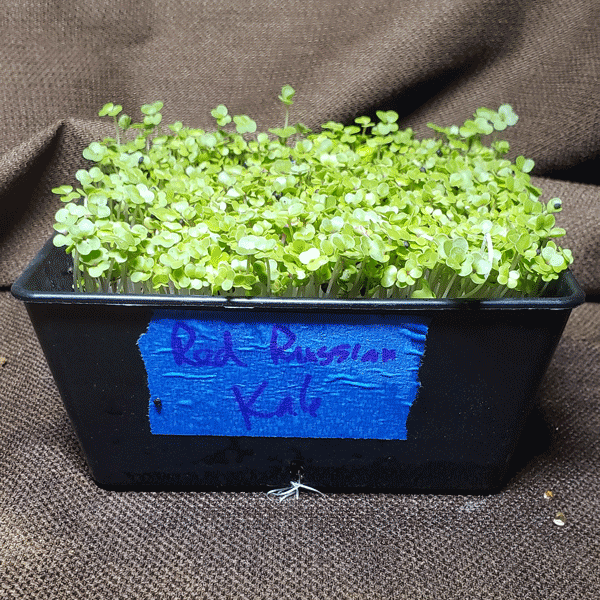
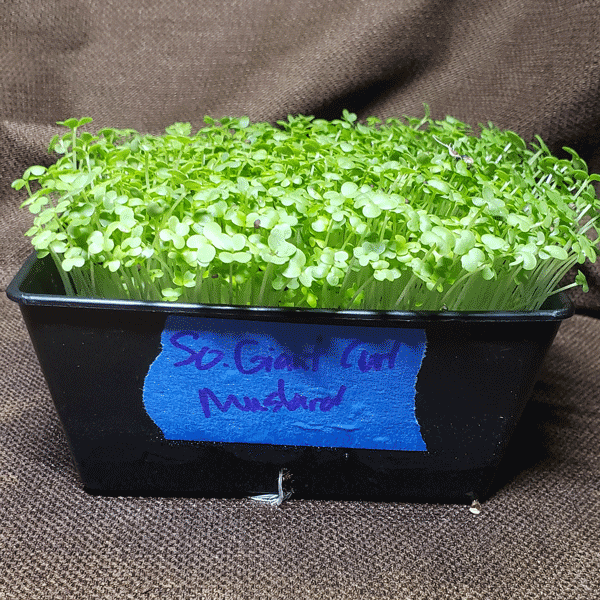
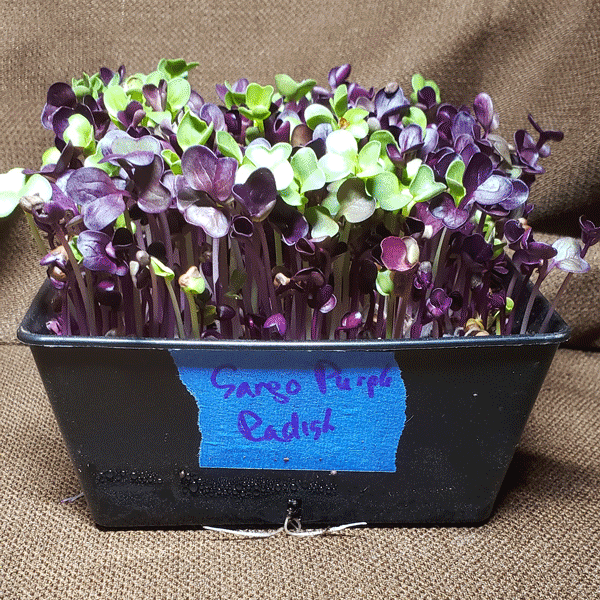


We recommend that you wash your hands thoroughly with soap and warm water before and after working with your garden.

Open your TableTop Kit and decide which garden you want to grow first. If you choose Sunflowers or Peas, you will need to soak the seeds overnight before proceeding to Step 2. You can grow one or two gardens at a time. There are three growing trays provided, but the extra tray is used for as a cover for the seeds while germinating.
The day before you plan to start your Pea or Sunflower Microgreen Garden, sunflower seeds or pea seeds should be rinsed in clean water and then soaked for about 8-12 hours.
Use a large container and plenty of water as they will expand quite a bit as they absorb water. Rinse again and drain any excess water.
After soaking sunflowers and peas you can add the seeds (go to Step 3) on top of the prepared media tray.
Place each growing tray on a saucer. Pour 1/2 the packet of the moistened media into each tray.
Level out the soil gently and break up any clumps with your fingers.
Fill any low spots or flatten high spots making a fairly level surface.
PRO TIP: If the mix has high or low spots, use a plastic fork (not included) to even it before gently flattening with the extra tray. Watch the edges of the tray, sometimes the mix is high or low on the edges.
Place the cover tray on top of the media to help flatten it. Press gently on the cover to smooth out the top of the media. Repeat with the second growing tray.
Trays will have a 1/2 inch of space above the media, a little more or less is okay.
PRO TIP: Use a soup can or similar to weight down the covering tray. It is quite amazing how much upwards pressure these little seeds can exert when they are sprouting.
Wash your hands. Open one seed packet and sprinkle the seeds all over the top of the media in the growing tray as evenly as possible. Try not to let the seeds stack on top of each other. Seeds can touch each other, though.
REMINDER NOTE: Sunflowers and peas need to be soaked before this step. See additional directions for those seeds.
PRO TIP: Scatter the seeds around the edges first and then fill in the center.
Check your seeds every day to make sure they haven’t dried out. The seeds should be shiny. Mist lightly if necessary, then cover them back up. The seeds will start to germinate and grow.
NOTE: Some microgreen seeds grow little root hairs when they are sprouting and these can be easily confused with mold. These are a normal part of the growth and not a cause for concern.
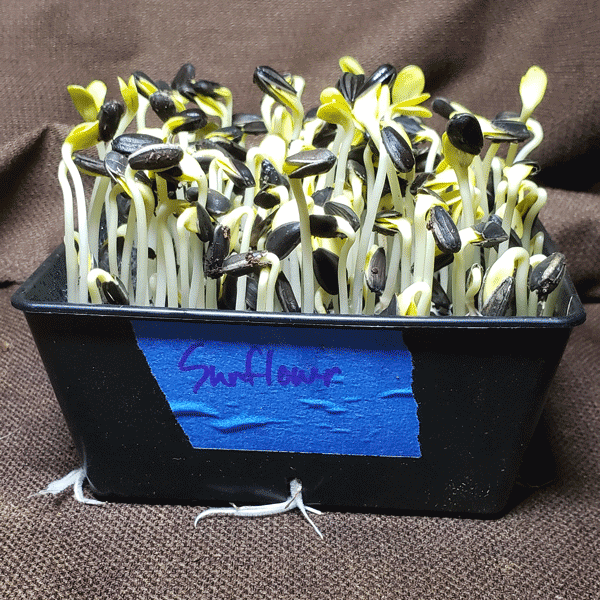
On the day you uncover the sunflower or pea shoots (typically Day 4, when the shoots are pushing the tray above them up), add water to the saucer and spray the tops of the shoots. *Sunnies like an extra day in the dark, so cover their tray back up with an empty inverted tray to give them an extra day of dark and dampness. Expose to light the next day and add water to the saucer just like the other garden varieties.
PRO TIP: Sunnies or Peas absorb more water, check the saucer twice a day when exposed to sunlight and add water as needed.
Uncover the seedlings and place the trays in their saucers in a bright spot with as much sunlight as possible, such as a sunny window sill. If you have grow lights then you can set them quite close to your microgreens. The seedlings will look fairly weak and yellow when you first uncover them. Some of the seedlings might be green if they were close to the edge of the tray and that’s okay. All become greener as they are exposed to sunlight.
Add 1/4 cup water to the saucers under the growing trays. Do not water the microgreens directly, always add water to the saucers.
Add water every other day or daily if the water is fully absorbed.
PRO TIP: Rotate the garden daily so that all sides of the microgreens receive the same amount of sunlight. If you happen to have grow lights then you can set them quite close to your sprouting microgreens.
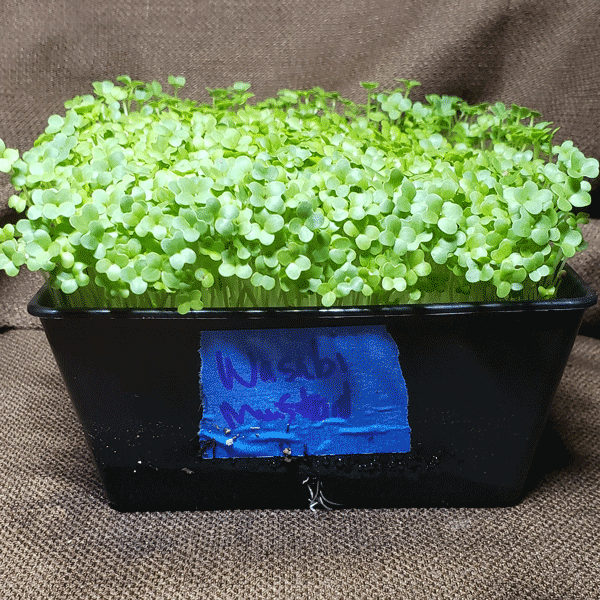
Most microgreens are ready to start eating by Days 7-10. You should be able to harvest them for about a week or so and cut what you need. Wash your hands before harvesting. Harvest microgreens by cutting with a knife or clean scissors.
Cut the seedlings as close to the top of the growing tray as possible. Wash microgreens before eating. When all seedlings are harvested, dispose of or compost remnants and media, wash trays and start a new garden.
Easy…any way you wish! They are amazing mixed into a salad, added to any sandwich, pizza, cracker, etc. They are wonderful sprinkled into soups, stews, curries and make beautiful and nutritious garnishes on many dishes, giving them a “pro chef touch.” Add microgreens to smoothies for an added nutrient punch or add to your fresh juicing routine. They also taste great as a delicious snack.
After harvesting all of the microgreens from your garden, dispose of the growing mix, it cannot be reused. You can add the spent mix to your compost pile.
The growing trays and saucers should be cleaned with an antibacterial soap and water. Thoroughly rinse and let dry before reusing for your next garden.
